Introduction
If you are passionate about web development and casual gaming, then you have probably thought about building a game on your own. Among the many popular board games, Ludo continues to hold a special place because of its simplicity and nostalgic value. In this blog, we will walk through how to create a Ludo game with HTML5 and JavaScript in a structured and beginner-friendly way. We will not just talk about code but also the thought process behind game design.
Whether you are a student, a hobbyist, or a developer who wants to expand your portfolio, learning Ludo game development can be a valuable project. You will practice logic building, improve your understanding of the DOM, and gain experience in handling animations and user interactions. By the end of this guide, you will know exactly how to start, which steps to follow, and how to polish the project so it looks and feels professional.
Why Choose Ludo as Your Project?
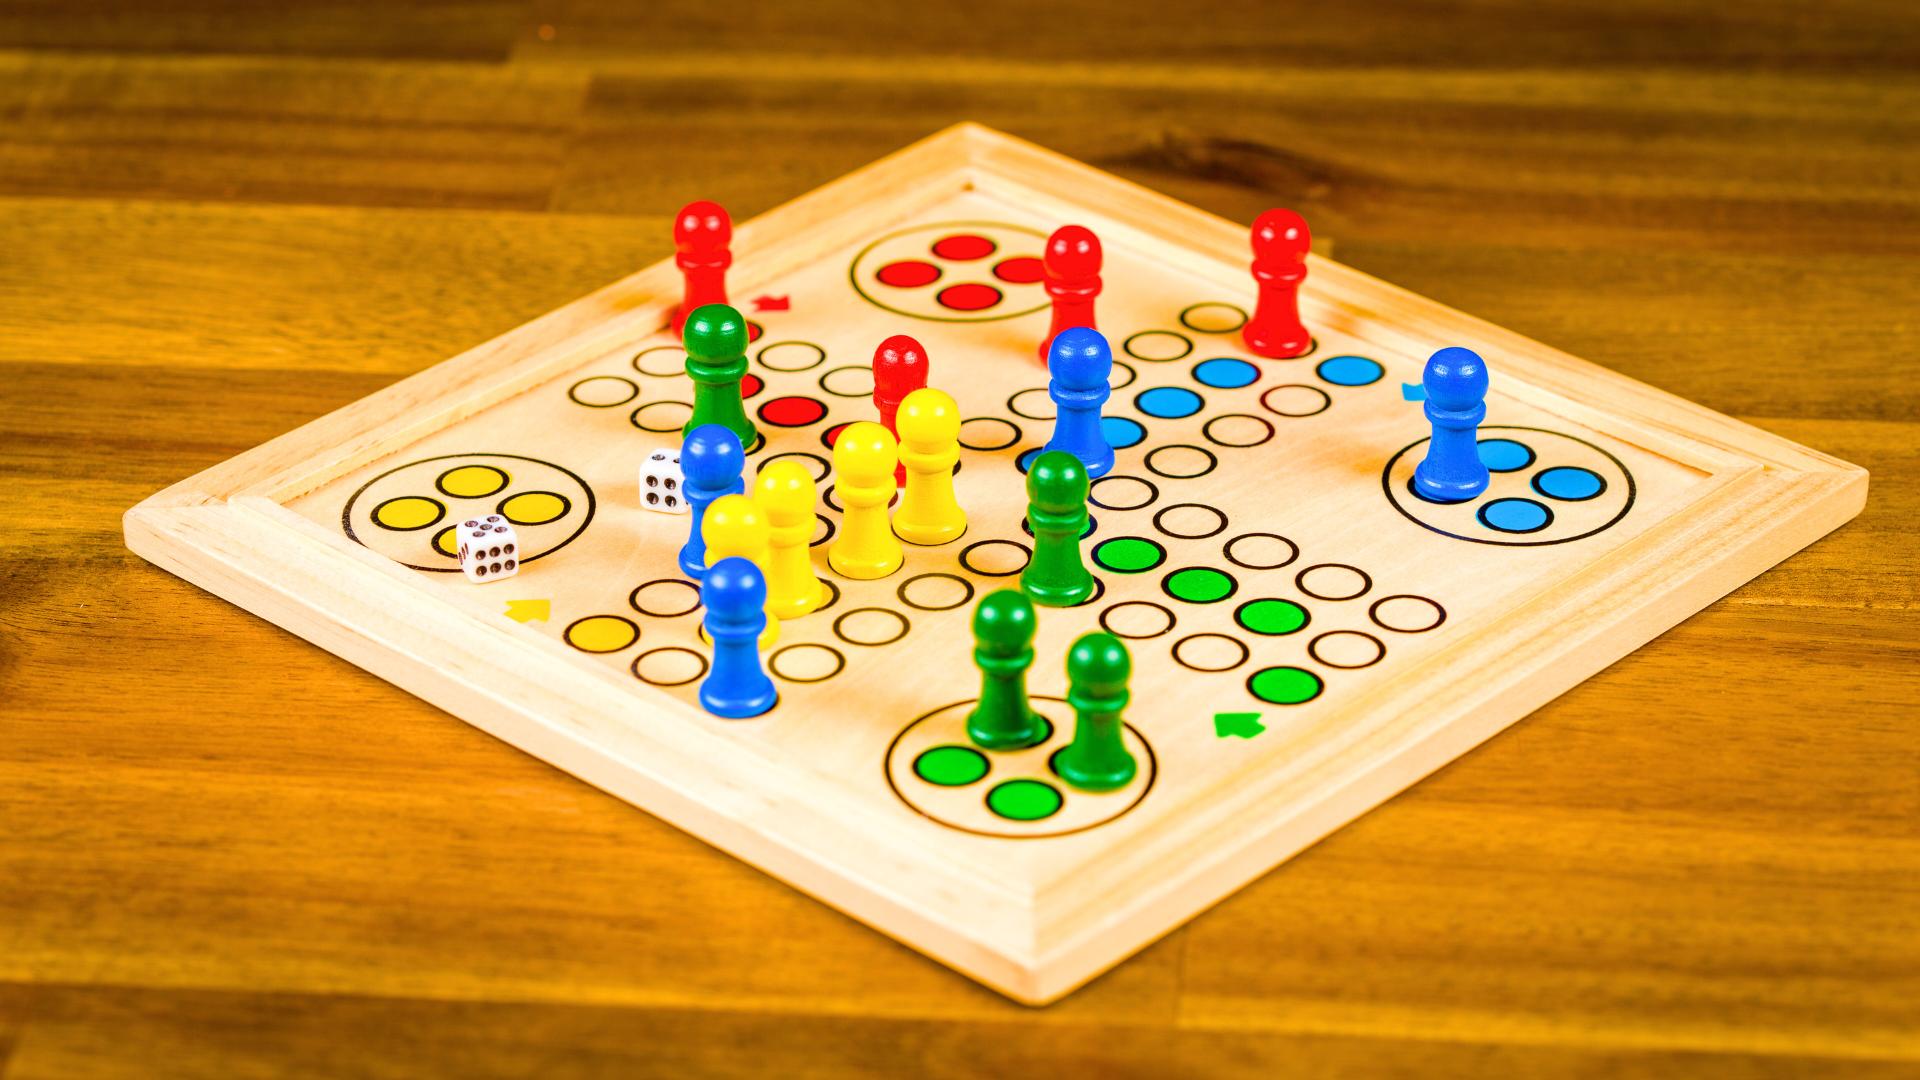
Ludo is one of those timeless games that is both fun and approachable. It has a simple set of rules that almost everyone knows, yet it has enough complexity to keep people entertained. When you build a Ludo game with HTML5 and JavaScript, you are not just coding a game, you are recreating a piece of childhood for many people.
There are also technical reasons to start with Ludo. It allows you to cover key aspects of game development such as:
- Designing a grid-based board
- Creating movement logic with dice rolls
- Handling multiplayer turns
- Applying conditions for winning and safe zones
These are fundamental building blocks that will help you in larger, more complex projects later.
Step 1: Setting Up the Project
Before jumping into code, set up a clear folder structure. Create a main folder called ludo-game. Inside it, create three files:
index.htmlfor the structurestyle.cssfor the designscript.jsfor the logic
This separation ensures your project stays clean and manageable. Open these files in your favorite code editor, and link them together in index.html so the JavaScript and CSS can interact with your HTML structure.
Step 2: Designing the HTML Structure
The Ludo board is essentially a square divided into four colored zones with a path leading to the center. While it may look complex, you can build it with a combination of div elements styled with CSS grids.
In your index.html, create a container for the board and add placeholders for dice, tokens, and player controls. It might look something like this:
<!DOCTYPE html>
<html lang="en">
<head>
  <meta charset="UTF-8">
  <meta name="viewport" content="width=device-width, initial-scale=1.0">
  <title>Ludo Game</title>
  <link rel="stylesheet" href="style.css">
</head>
<body>
  <div class="ludo-board"></div>
  <div class="controls">
    <button id="rollDice">Roll Dice</button>
    <div id="diceResult"></div>
  </div>
  <script src="script.js"></script>
</body>
</html>
This is just a starting point. The actual board will be built with a grid layout in CSS, where each cell can represent part of the Ludo path.
Step 3: Styling the Board with CSS
In style.css, you can create a grid of 15×15 to simulate the Ludo board. Each cell can be assigned a class to identify which part of the board it belongs to. Using colors like red, green, yellow, and blue will make the board visually familiar.
body {
  display: flex;
  justify-content: center;
  align-items: center;
  min-height: 100vh;
  background: #f0f0f0;
}

.ludo-board {
  display: grid;
  grid-template-columns: repeat(15, 30px);
  grid-template-rows: repeat(15, 30px);
  border: 2px solid #333;
}
After this, you can define specific styles for safe zones, starting areas, and home cells. It will take some careful positioning, but that is where creativity comes in.
Step 4: Writing the Dice Roll Logic
The heart of any Ludo game is the dice. In script.js, you can use JavaScript’s random number generator to simulate dice rolls.
document.getElementById('rollDice').addEventListener('click', () => {
  const dice = Math.floor(Math.random() * 6) + 1;
  document.getElementById('diceResult').textContent = "You rolled: " + dice;
});
This simple function will generate numbers from 1 to 6. Later, you will connect this to token movement.
Step 5: Adding Tokens
Each player has four tokens. These tokens need to be represented visually on the board and linked logically to positions. You can create token elements with div or even SVGs for a smoother look.
For now, you can create tokens with simple circles using CSS:
.token {
  width: 20px;
  height: 20px;
  border-radius: 50%;
  position: absolute;
}
You can then assign them different colors depending on the player.
Step 6: Movement and Game Logic
This is the most challenging part. Every token moves according to dice rolls, but only if it is out of its home base. The logic can be broken down into steps:
- Check if the token is at home. If yes, it can only move out on a dice roll of 6.
- Once out, move the token along the board path by the number rolled.
- Handle interactions such as cutting another player’s token if you land on them.
- Manage safe zones where tokens cannot be cut.
This logic requires careful mapping of board positions. You can create an array that represents the path of each color and then update token positions accordingly.
Step 7: Multiplayer Turn Management
Ludo is a multiplayer game. You need a system to alternate turns between players. Start by keeping track of the current player in a variable. After each dice roll and token movement, switch the turn to the next player.
let currentPlayer = 0;
const players = ['Red', 'Green', 'Yellow', 'Blue'];

function nextTurn() {
  currentPlayer = (currentPlayer + 1) % players.length;
  console.log("It's " + players[currentPlayer] + "'s turn");
}
This way, you can cycle through all four players in sequence.
Step 8: Detecting Winners
Winning conditions are straightforward. If all four tokens of a player reach the home column and then the center, that player wins. You can check this by keeping a counter of tokens that have reached the home position. Once all four are safe, display a message declaring that player as the winner.
Step 9: Adding Animations and Interactivity
Games feel much better when they are visually interactive. Instead of instantly teleporting tokens from one cell to another, animate the movement with small steps. You can use setTimeout or CSS transitions for smooth effects. Adding sounds for dice rolls and movements will also increase engagement.
Step 10: Polishing the Game
By this point, you should have a working version of your Ludo game. To polish it, focus on:
- Improving the board design with better colors and borders
- Adding responsive design so the game works on mobile screens
- Implementing restart and pause functionality
- Creating an AI opponent if you want to add single-player mode
Common Challenges in Ludo Game Development
When working on this project, beginners often face some challenges. One is accurately mapping the board path for each player. Since Ludo paths overlap and diverge, you must carefully define arrays of positions for each color. Another challenge is handling multiple tokens occupying the same spot. Unlike chess, Ludo allows tokens of the same color to stack, but not of different colors unless one is being cut.
You may also struggle with keeping the user interface clean when many tokens are on the board. This can be solved by using layered elements or slightly offsetting tokens visually.
Why This Project Improves Your Skills
Working on a Ludo game forces you to practice problem-solving in a fun way. You deal with real-world programming issues like conditional logic, state management, and user interface updates. You also learn to handle unexpected outcomes, such as two players rolling multiple sixes in a row.
More importantly, the project teaches you patience. Ludo is not built in a day. It takes iterations to make the game enjoyable. And through those iterations, your confidence in JavaScript will grow immensely.
Expanding the Project
Once you have a basic version working, you can take it further. Some ideas include:
- Building an online multiplayer version using WebSockets
- Adding authentication so players can save their progress
- Allowing users to customize their tokens and board themes
- Tracking statistics like win rates or average dice rolls
Each of these features will make the project more professional and could even turn into a publishable product.
Conclusion
Building a Ludo game with HTML5 and JavaScript is not only achievable but also deeply rewarding. You get to recreate a beloved board game while sharpening your programming abilities. At the start, you learned why Ludo game development is a great choice, then we explored the steps from setting up the project to polishing it with animations and interactivity.
Now it is your turn to take these insights and start coding. Whether you keep it as a personal project or expand it into something larger, you will carry forward valuable experience that can be applied to other games and web applications.
Remember, Ludo game development is as much about creativity as it is about logic. Experiment, have fun, and soon you will have a digital Ludo board ready for your friends and family to enjoy.