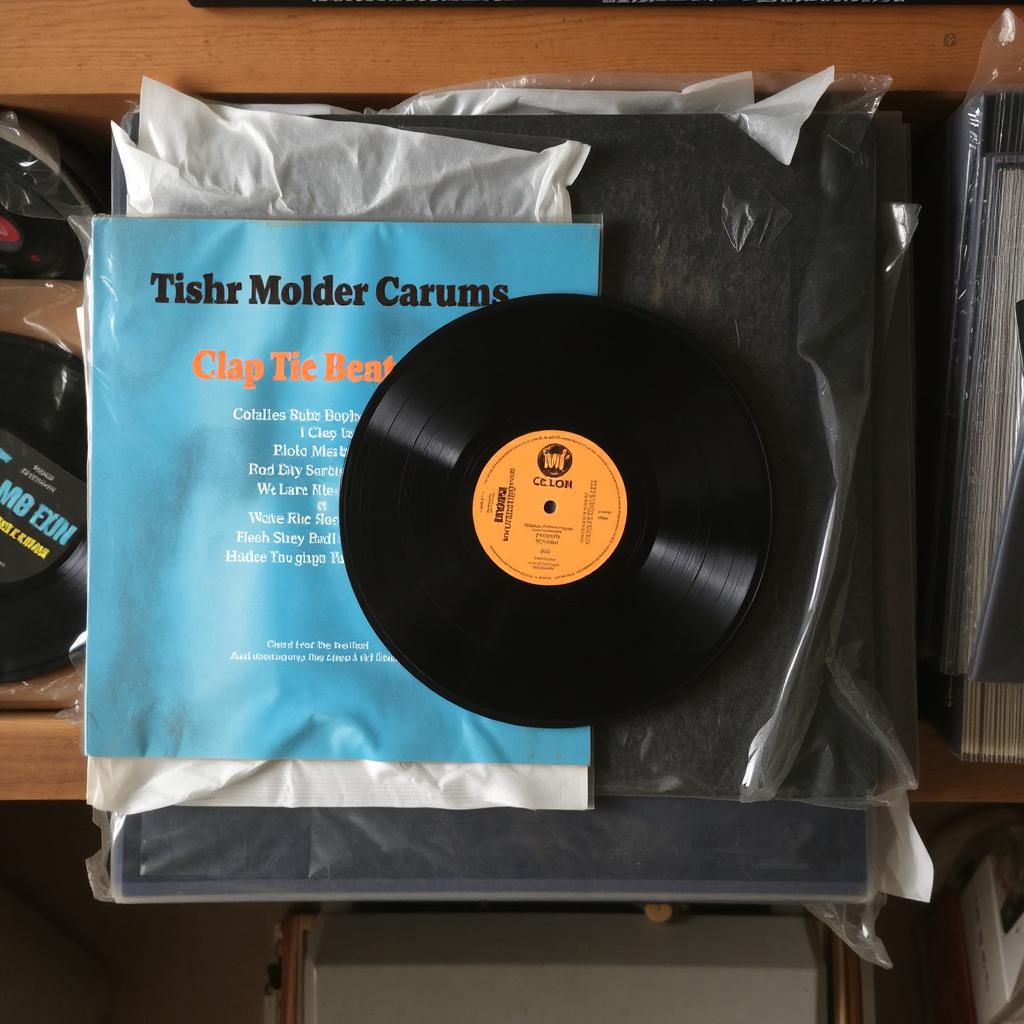
Old Bollywood vinyl records are treasured for their soulful melodies, legendary voices, and timeless compositions. These records captured the magic of India’s golden musical era and preserved it in physical form for future generations. But behind every record was a complex and fascinating process that began long before the needle touched the groove. From the studio microphone to the final pressing of the vinyl disc, each step played a vital role in delivering those iconic songs to millions of homes across India.
Let’s explore the journey of how old Bollywood vinyl records were made, from playback singing to record pressing.
Step 1: Composition and Lyrics
The process started with music directors and lyricists. Composers like S.D. Burman, R.D. Burman, Naushad, and Shankar-Jaikishan would first create melodies based on the mood of the film scene. Lyricists such as Sahir Ludhianvi, Majrooh Sultanpuri, and Anand Bakshi would then write words that fit the story and emotion of the music. This collaboration between composer and lyricist was the creative foundation of every Bollywood song.
Step 2: Playback Singing in the Studio
Once the song was ready, it was time to record the vocals. Unlike live singing in films, Bollywood used the playback system—where singers recorded songs in advance, and actors lip-synced them during filming. Legendary playback singers like Lata Mangeshkar, Kishore Kumar, Mohammed Rafi, and Asha Bhosle performed their songs in specially designed recording studios.
In the early days, these recordings were done in a single take with all musicians and singers performing together. The orchestras included string sections, percussionists, harmonium players, and more. Recording engineers would position microphones carefully to capture the best sound mix, as multi-track recording was not yet available in India during the 1950s and early 60s.
Step 3: Master Tape Creation
After the vocal and instrumental parts were recorded, the final mix was transferred onto a master reel-to-reel tape. This analog master tape was the most crucial part of the record production process. It contained the purest, highest quality version of the song. Great care was taken to avoid any distortion, background noise, or imbalance in sound. The final master was reviewed by the music director and studio engineers before it was sent for vinyl cutting.
Step 4: Lacquer Cutting
The master tape was sent to a record-cutting studio, often owned by record labels such as HMV (His Master’s Voice) or EMI India. Here, the sound from the master tape was used to cut grooves into a flat aluminum disc coated with lacquer. This was called the lacquer master. A cutting lathe carved the grooves into the disc in real time, guided by the music’s audio signals.
Each groove represented the waveform of the music, with tiny modulations that would later be read by a stylus during playback. This lacquer disc was extremely delicate and would not be used for production directly.
Step 5: Electroplating and Stamper Creation
Next came electroplating. The lacquer master was coated in silver and then electroplated with nickel to form a metal negative, called the “father.” This negative had ridges instead of grooves. The father was then used to make a positive “mother,” which in turn was used to create stampers—metal molds used to press the records.
These stampers were durable and allowed thousands of copies of a record to be made. The accuracy of this process determined the sound quality of the final product.
Step 6: Vinyl Pressing
At the record pressing plant, vinyl pellets were melted into a soft puck called a biscuit. This biscuit was placed between two stampers inside a hydraulic press. When the press closed, the stampers pressed the grooves into the vinyl, and simultaneously the label was embedded onto the center. The record was then cooled and trimmed to shape.
Pressings were made at different speeds—33⅓ RPM for LPs (long-playing records) and 45 RPM for singles and EPs (extended plays). Quality checks ensured that the grooves were clean and that the sound was consistent across copies.
Step 7: Packaging and Distribution
Once the records were pressed, they were inserted into paper or cardboard sleeves, often featuring beautiful artwork, film photos, and song credits. These sleeves were printed locally and became part of the record’s visual identity.
From the factories, the records were shipped to stores across India and abroad. Fans would buy them to enjoy at home on their turntables, preserving the songs of their favorite films in analog form.
Conclusion
The making of old Bollywood vinyl records was a true blend of art, science, and craftsmanship. From live studio sessions with legendary musicians to the precision of analog mastering and pressing, every record was the result of careful attention to detail and creative passion. These records didn’t just store music—they carried the soul of Indian cinema, echoing voices and melodies that continue to enchant listeners decades later. Owning one is like holding a piece of musical history, created through a process as rich and enduring as the songs themselves.


