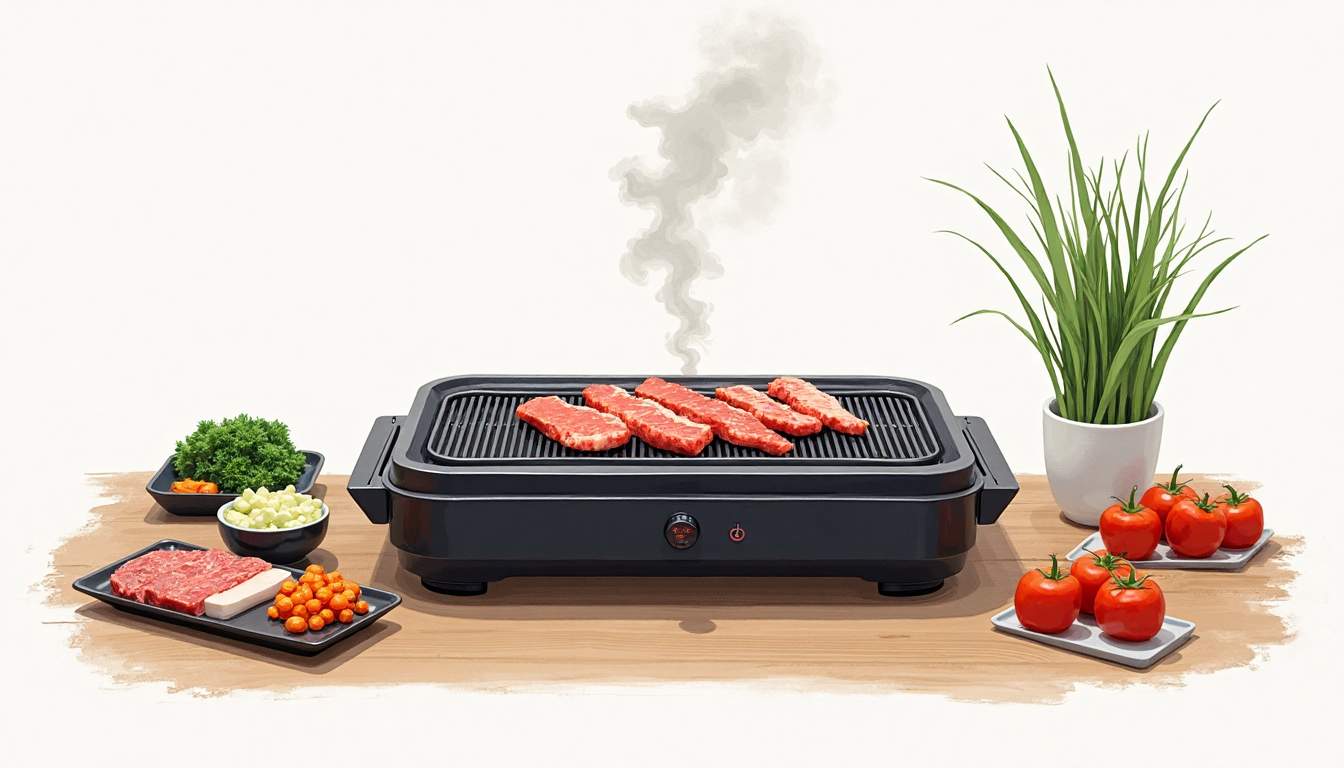
Yakiniku, the beloved Japanese style of grilling bite-sized pieces of meat and vegetables, is a culinary experience that brings friends and family together. However, one common challenge when enjoying yakiniku at home is managing the smoke that the grilling process produces. Traditional yakiniku grills can fill a room with smoke, which can be bothersome and even set off smoke alarms. Fortunately, smokeless yakiniku grills have become increasingly popular, offering a cleaner, more convenient way to enjoy this delicious cuisine indoors.
In this comprehensive guide, you will learn how to set up a smokeless yakiniku grill properly, from choosing the right grill to preparing your space and ingredients. Whether you’re a seasoned yakiniku fan or a curious beginner, this article will help you create a delightful grilling experience with minimal smoke and maximum flavor.
Understanding Smokeless Yakiniku Grills
What Makes a Yakiniku Grill Smokeless?
Traditional yakiniku grilling often uses charcoal or open flame, which produces a significant amount of smoke due to fat dripping onto the heat source. Smokeless yakiniku grills, on the other hand, use innovative designs and technologies to minimize smoke production. Many of these grills utilize electric heating elements combined with special drip trays or smoke-absorbing materials to reduce smoke emissions.
Some models incorporate fans or ventilation systems that actively pull smoke away from the cooking surface, while others use ceramic or non-stick surfaces that prevent excessive burning of fats. The result is a cleaner grilling process that allows you to enjoy yakiniku indoors without worrying about lingering odors or smoke damage. Additionally, many smokeless grills are designed with safety features, such as automatic shut-off systems, ensuring that you can grill with peace of mind. This combination of functionality and safety makes smokeless grills a popular choice for families and apartment dwellers who want to enjoy the authentic taste of grilled meats without the hassle of traditional grilling methods.
Types of Smokeless Yakiniku Grills
When selecting a smokeless yakiniku grill, it’s important to understand the different types available on the market:
- Electric Grills: These grills use electric heating elements and often come with adjustable temperature controls. They are easy to use and clean, making them ideal for indoor use.
- Infrared Grills: Infrared grills heat food quickly and evenly while producing less smoke. They use infrared radiation to cook the meat, which helps reduce fat drippings and smoke.
- Induction Grills: Using magnetic fields to heat the cooking surface, induction grills are efficient and generate minimal smoke. They also offer precise temperature control.
- Hybrid Models: Some grills combine electric heating with built-in ventilation systems or smoke filters to further reduce smoke.
Choosing the right type depends on your budget, space, and cooking preferences. For instance, electric grills are generally the most accessible option for beginners, while infrared grills may appeal to those seeking a more advanced cooking experience with quicker results. Induction grills, on the other hand, are perfect for those who prioritize energy efficiency and safety, as they only heat the cookware and not the surrounding air. Hybrid models can be particularly advantageous for those who want the best of both worlds, offering versatility and enhanced smoke reduction. As you explore your options, consider the size of your cooking space and the number of people you typically grill for, as these factors can significantly influence your grilling experience. For a wide range of quality grills and expert recommendations, visit RHQ Store.
Preparing Your Space for Smokeless Yakiniku Grilling
Choosing the Right Location
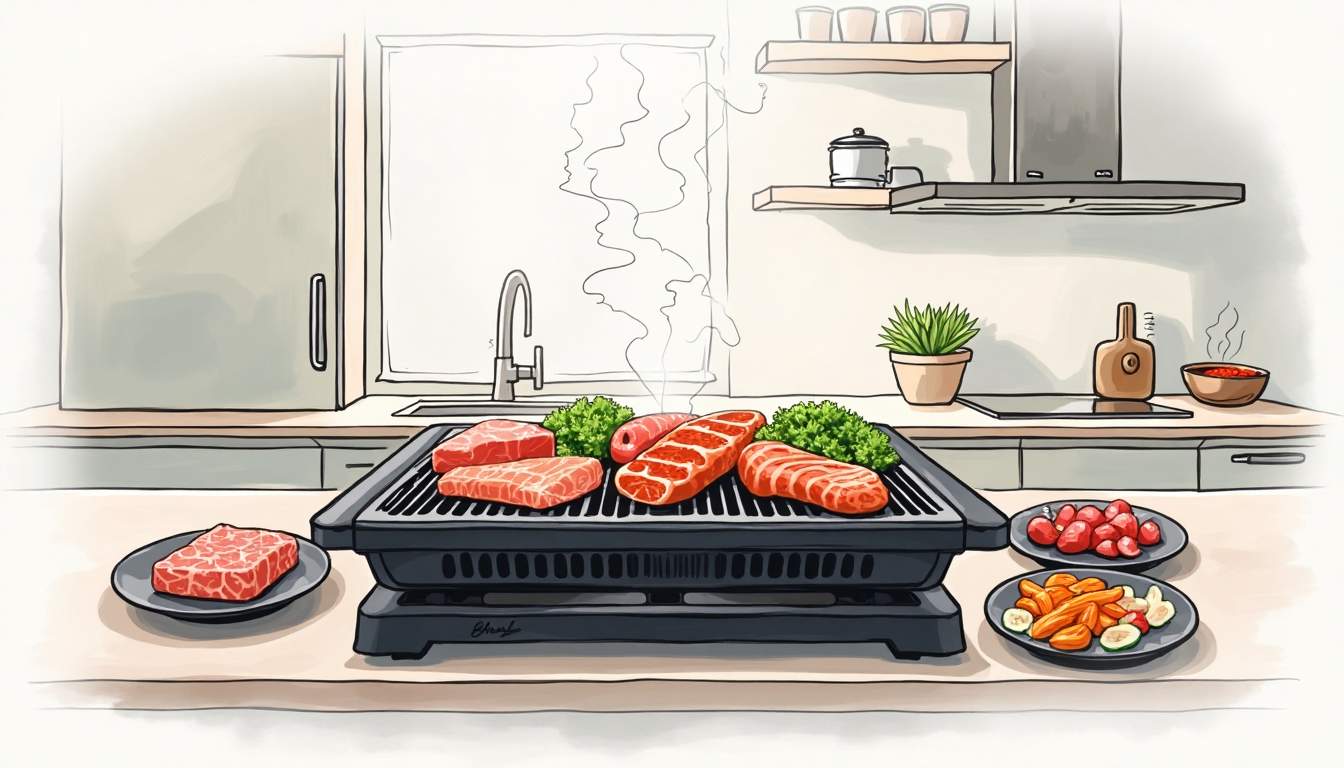
Even though smokeless grills produce less smoke, it’s still important to set up your yakiniku grill in a well-ventilated area. Ideally, place the grill near a window or under a kitchen hood to help dissipate any residual smoke or odors.

Ensure that the surface where you place the grill is heat-resistant and stable. A sturdy dining table or kitchen counter works well. Avoid placing the grill near curtains, paper products, or anything flammable.
Setting Up Ventilation and Safety Measures
To maximize the smokeless benefits of your grill, consider using an exhaust fan or opening windows to improve air circulation. Some grills come with built-in smoke extraction systems, but additional ventilation can enhance comfort.
Keep a fire extinguisher or a fire blanket nearby, especially if you’re grilling fatty cuts of meat. While smokeless grills reduce the risk of flare-ups, it’s always better to be prepared for any unexpected situations.
Step-by-Step Guide to Setting Up Your Smokeless Yakiniku Grill
Step 1: Unbox and Inspect the Grill
Start by carefully unboxing your smokeless yakiniku grill. Check the components to ensure everything is included, such as the grill plate, drip tray, power cord, and any accessories. Read the manufacturer’s instructions thoroughly to familiarize yourself with the specific features and safety guidelines of your model.
Step 2: Clean the Grill Components
Before using the grill for the first time, wash the grill plate and drip tray with warm soapy water. This removes any manufacturing residues or dust. Rinse and dry all parts completely to prevent any water from interfering with the heating elements.
Step 3: Assemble the Grill
Follow the instruction manual to assemble the grill. Typically, this involves placing the drip tray underneath the grill plate to catch fat and juices, then securing the grill plate onto the heating element or base. Make sure all parts fit snugly and securely.
Step 4: Position the Grill in Your Chosen Location
Place the assembled grill on a flat, heat-resistant surface near a power outlet. Ensure there is enough space around the grill for safe operation and to avoid accidental contact with hot surfaces.
Step 5: Preheat the Grill
Plug in the grill and turn it on to preheat. Most electric or infrared yakiniku grills have adjustable temperature settings. Set the grill to medium-high heat, which is typically ideal for yakiniku. Allow it to heat for about 5 to 10 minutes until the surface is hot and ready for cooking.
Step 6: Prepare Your Ingredients
While the grill is heating, prepare your yakiniku ingredients. Slice meats such as beef, pork, or chicken into thin, bite-sized pieces. Prepare vegetables like mushrooms, bell peppers, onions, and zucchini. Marinate your meats if desired, but avoid overly oily marinades that may increase smoke.
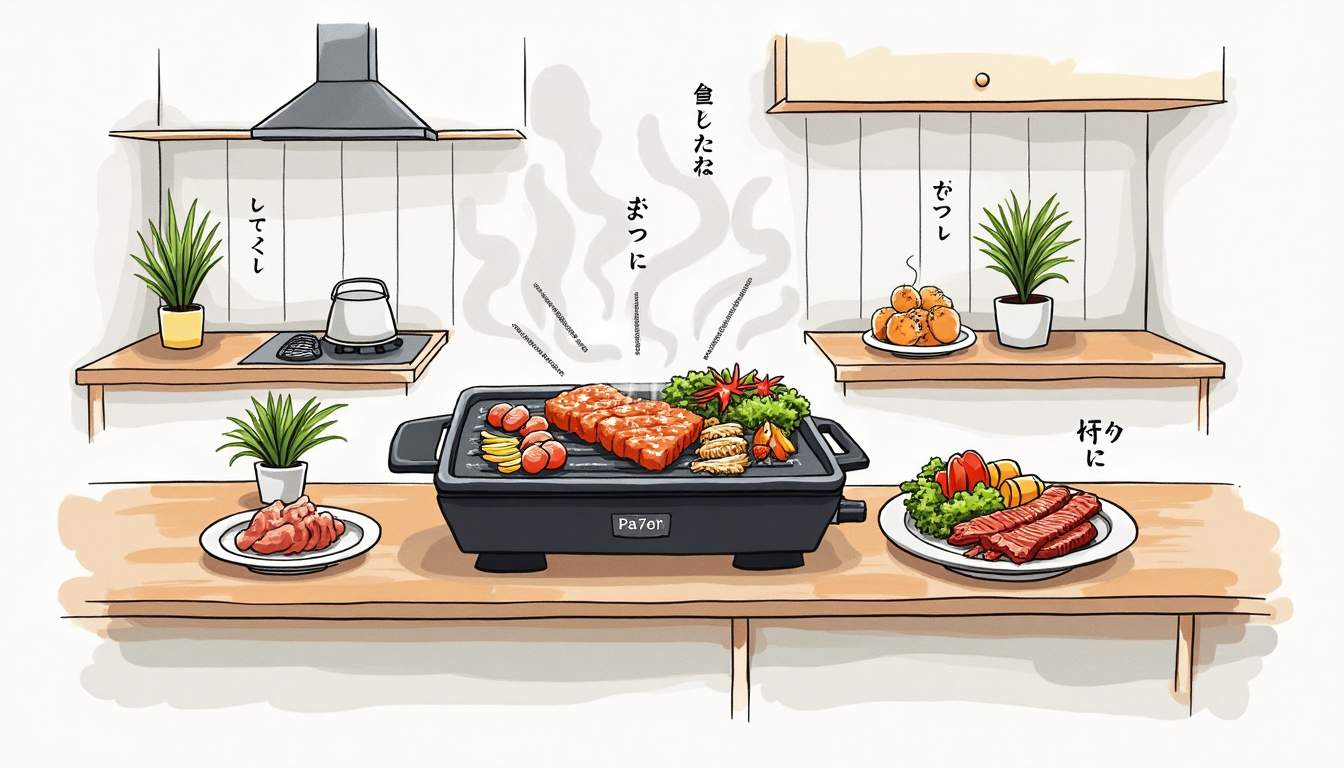
Step 7: Start Grilling
Place the meat and vegetables on the grill plate in a single layer, leaving some space between pieces for even cooking. Use tongs or chopsticks to turn the items as they cook. The drip tray will catch excess fat, reducing smoke and flare-ups.
Keep an eye on the grill temperature and adjust as necessary. If smoke begins to build up, turn on any available ventilation or open a window.
Tips for Minimizing Smoke and Enhancing Your Yakiniku Experience
Use Lean Cuts and Trim Excess Fat
Fat dripping onto the heat source is the primary cause of smoke during grilling. Choosing leaner cuts of meat or trimming excess fat can significantly reduce smoke production. If you prefer fattier cuts, grill them carefully and consider using a drip tray with a non-stick coating to prevent burning.
Control the Temperature
Maintaining the right temperature is crucial. Too high heat can cause fat to burn and create smoke, while too low heat may result in uneven cooking. Start with medium-high heat and adjust based on how your grill performs and the type of ingredients you’re cooking.
Keep the Grill Clean
Regularly clean your grill plate and drip tray after each use. Residual grease and burnt food particles can increase smoke during subsequent grilling sessions. Many smokeless grills have removable, dishwasher-safe parts that make cleaning easier.
Use a Grill Lid or Cover if Available
Some smokeless yakiniku grills come with lids or covers that help contain smoke and heat. Using these can further reduce smoke spread and help food cook more evenly. Just be sure to monitor your food to prevent overcooking.
Experiment with Marinades and Sauces
Marinating meat can add flavor and tenderness, but be mindful of sugary or oily marinades that can increase smoke. Try light soy-based marinades or citrus-based sauces that complement yakiniku flavors without excessive oil or sugar.
Cleaning and Maintenance for Long-Lasting Performance
Daily Cleaning Routine
After each grilling session, unplug the grill and allow it to cool completely. Remove the grill plate and drip tray, then wash them with warm, soapy water. Use a soft sponge or cloth to avoid scratching non-stick surfaces. Dry thoroughly before reassembling.
Deep Cleaning and Inspection
Periodically, perform a deep clean by soaking removable parts in a mixture of warm water and baking soda to remove stubborn grease. Check the heating element and electrical components for any signs of damage or wear. If you notice any issues, consult the manufacturer or a professional technician.
Storage Tips
Store your smokeless yakiniku grill in a dry, cool place when not in use. Cover it with a dust cover or cloth to keep it clean. Proper storage helps maintain the grill’s condition and prolongs its lifespan.
Enhancing Your Yakiniku Experience
Pairing with Traditional Yakiniku Sauces
Yakiniku is not just about grilling; it’s also about the dipping sauces that bring out the flavors of the meat. Classic sauces include tare (a sweet soy-based sauce), sesame sauce, and spicy miso. Offering a variety of sauces allows guests to customize their flavors and enjoy a more authentic experience.
Serving with Side Dishes
Complement your yakiniku with traditional side dishes such as steamed rice, kimchi, pickled vegetables, and fresh salads. These sides balance the richness of grilled meats and add texture and variety to your meal.
Creating a Social Atmosphere
Yakiniku is often enjoyed as a communal meal. Arrange seating so everyone can gather around the grill comfortably. Encourage guests to participate in grilling and sharing, creating a warm and interactive dining experience.
Conclusion
Setting up a smokeless yakiniku grill at home is a fantastic way to enjoy this delicious Japanese grilling tradition without the hassle of smoke and odors. By choosing the right grill, preparing your space properly, and following best practices for grilling and maintenance, you can create a safe, enjoyable, and flavorful yakiniku experience.
Whether for a casual family dinner or a lively gathering with friends, a smokeless yakiniku grill brings the joy of Japanese barbecue right to your table. Embrace the art of grilling with minimal smoke and maximum taste, and savor every bite of your homemade yakiniku feast.